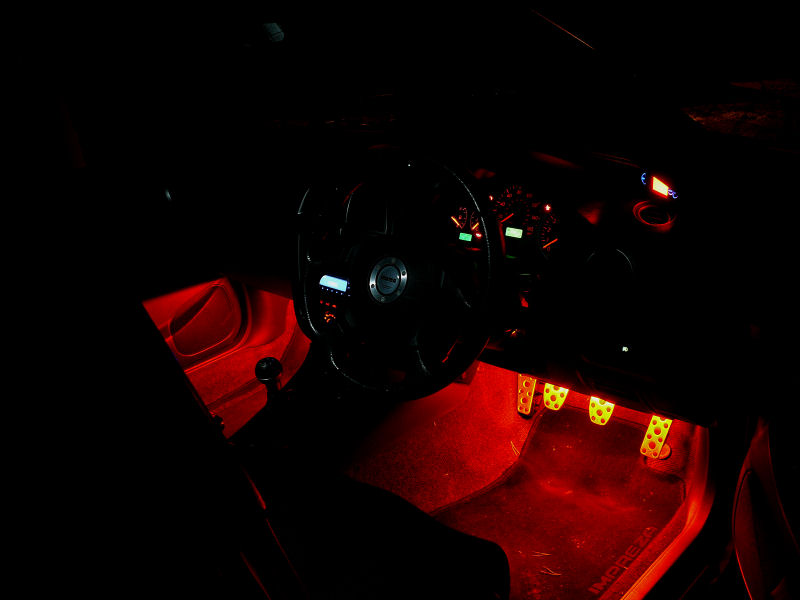
Couple years back I came across a couple 12v cathode tubes which were left over from my PC case modding days. Figured I’d have a go at fitting them into the foot wells of the car to see how it looked! Crude bit of wiring taken from the interior light dimmer circuit but essentially it worked! Looked kinda cool!
But it was a crude install and the cathode tubed are brittle and inevitably broke them, probably which doing some sort of river-dance on the pedals..
Always had plans to go back and replace them with more robust and low power LED’s. Also tried to think of ways of putting puddle lights on the doors like some modern executive cars have like Mercedes and stuff like that.. But the LED strips I’d seen previously were all pretty thick and no way woudlk they fit properly without cutting up the door cards and fabricating a recess for them to fit into. Decided too much hassle.
However, it’s wasn’t until I saw Phil’s (Salsa-Kings) post on his green LED lights that I realised that you could get really flat LED strips! Immediately I though to the potential with the lights under the doors and set to work trying to figure out how to do it! Thanks Phil!
Try not go into too much detail, but ended up deciding to do 4x red footwell lights, 4x door lights and 1x rear roof light to help brighten things up. Also replacing the 2x white cathode tubes I had then boot and replace them with one 1m long Led strip. And finally couple small modern style led daytime running lights to the front of the car.
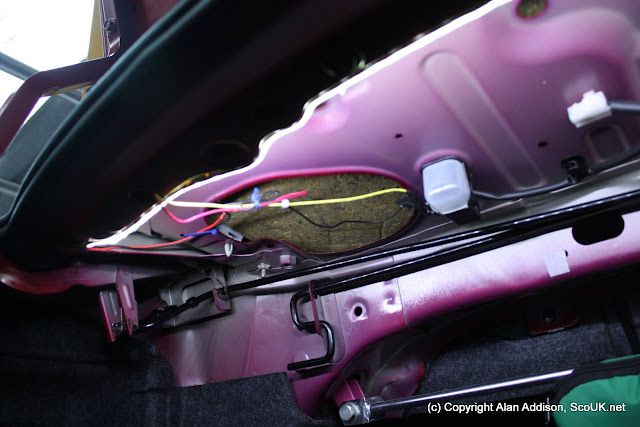
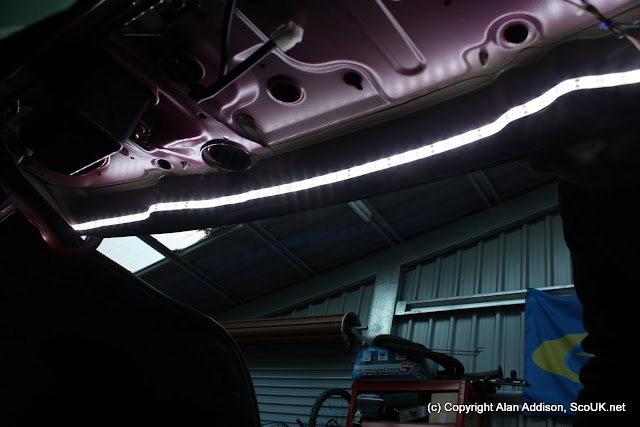
First thing I did was sort out the boot light. This is a very simple thing to do for just about anyone can do. The boot light connector will quite happily accommodate a couple electrical spade type connectors for power. Just make sure you insulate the connectors so they don’t accidently short out. The LED strips already came with double sided sticky take ready to use to peeled off the backing and stuck the strip along the top of the boot. Hidden out of sight but extremely effective at lighting up the the boot.. In fact WAY better than I expected! All boot lights should be done this way, instead of the little poxy candle manufacturers seem to use!

To be honest, I didn’t know how well the rest would work, but was pretty sure the light would be much more intense than using the cathode tubes from version 1. Also with all these additional lights, even being LED’s I decided it would be a good idea to make my own circuit and isolate it the wiring from the rest of the car with a switch under the dash, yet tagged onto the door switch circuit so they came on when the doors were opened and faded gently just like the standard roof light.
Heres the magic box I came up with.
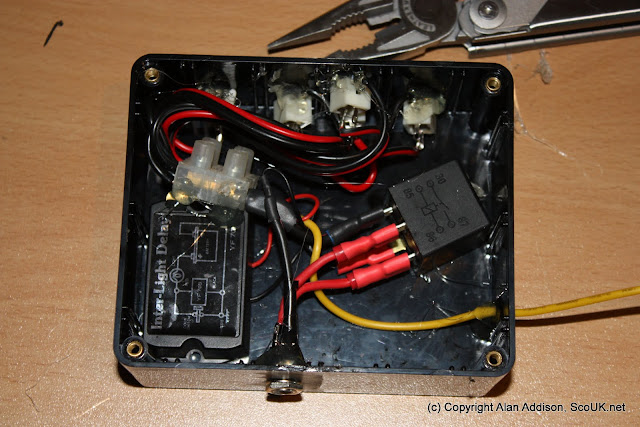
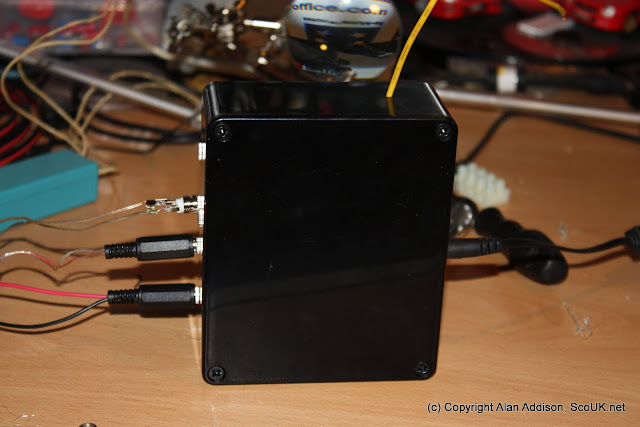
Fairly simple really input for power supply, fed via relay which is triggered from the door switch circuit. Then feeds through a delay circuit which fades the lights. Finally a set of headphone jack style sockets to put each set of lights into. Broken up as:
Near side doors
Off side Doors
Near side footwells
Offside Footwells
Roof light
This way if in the event there is any issue each set of lights can be isolated quickly
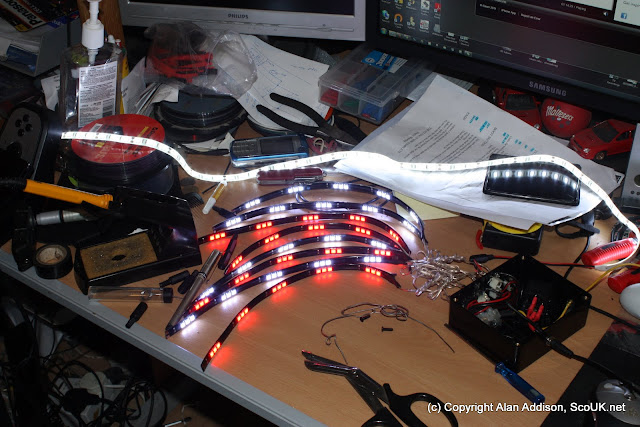
Quick test of the circuit with all the led strips attached and were ready to go!
First problem was to find somewhere suitable to mount the box. After ripping the dashboard apart, decided there was some spare space behind the passenger dashboard next to the glove compartment! Nice location as the battery feed would come in near there. Only inconvenience is running a feed over to the driver side for an override switch to enable/disable the circuit.

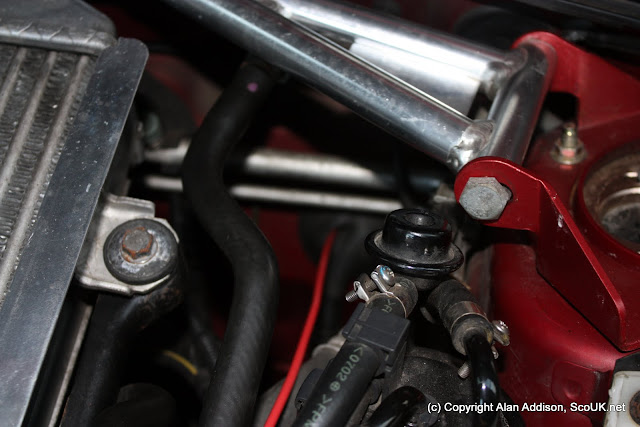
With the box location decided it was time to bring in the power! Tagged a feed of the battery (with inline fuse!) through the rubber gromit on the bulkead in behind the dash.
Then onto the lights. Wanted to do this as properly as possible so removed the seats, centre console trim, sill trim, b-pillar trim and door cards to get access to everywhere I needed. At which point I had a sudden realisation that I was a bonkers project! And at no time did I ever think I would try something like this. But I’d gone this far, so set about feeding all the necessary wires behind trim, under carpets and fed through relevant holes to get where they needed to be.
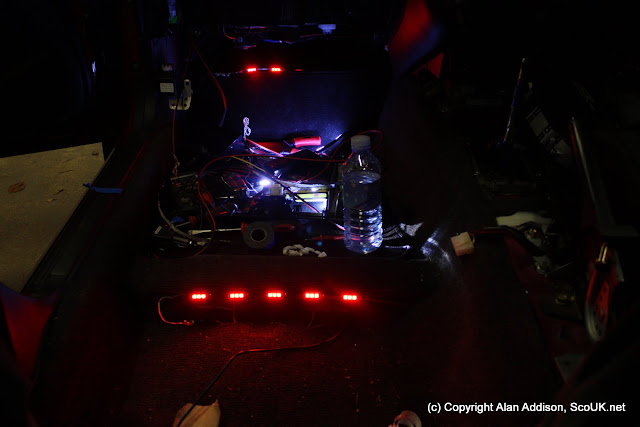
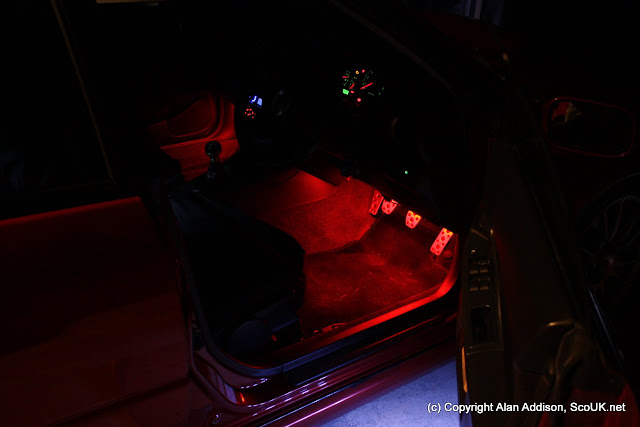
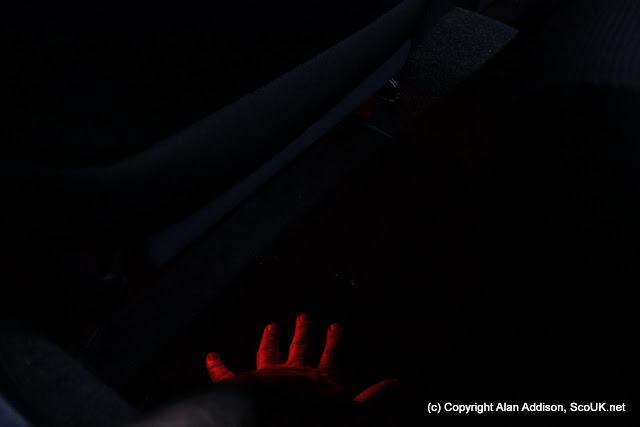
Footwell lights were pretty straight forward. Front footwell lights easy enough just run cables along behind the dash, for the rear footwells, ran power along the transmission tunnel under the carpet under each seat and mounted the led strips under the seats. Only downside of doing this is that the red light passes over the carpet. So although you can really see the red light on the rear footwells when you step in your feet glow red so it’s almost an invisible field of redness until you step in. This could be sorted by mounting the lights onto the bottom of the seats, but didn’t want to do this incase the cables got snagged accidently by the runners.
Have to be honest the biggest pain in the ass with all this was getting the wires fed into the doors! Nearly gave up on the whole door lights at this point but persisted with it and eventually got there!
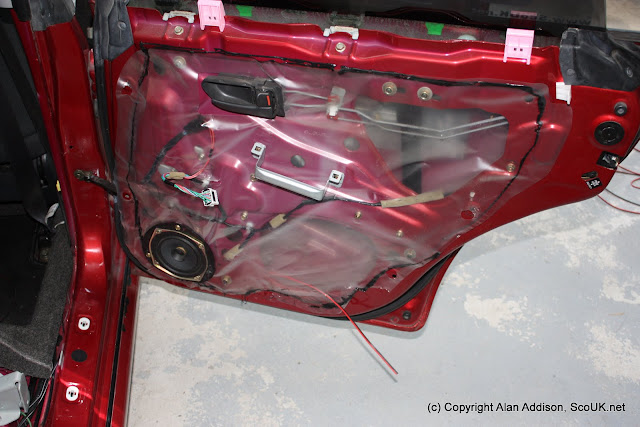
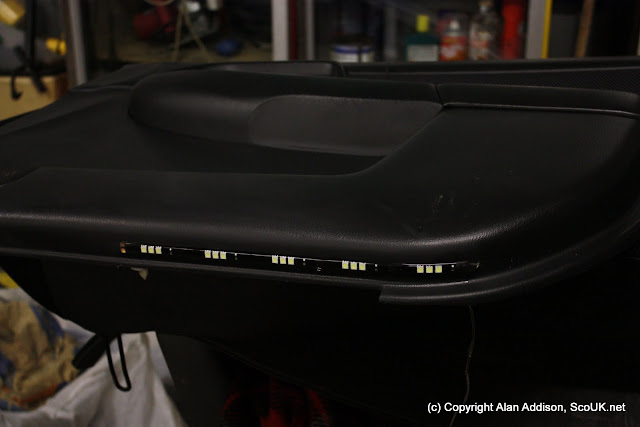
Only bit of fudging/damage I had to inflict to the car (plenty scrapes and scratches on my hands for doing this) was drilling a small hole in the bottom of the door cards to feed through the wire for the light strips. Were only taking a 3mm hole here which was sealed up with a gluegun so perfectly safe. Led strips stuck on using pre-attached 3m sticky tape. I have a little concern about the lifetime of the sticky tape but we’ll see.

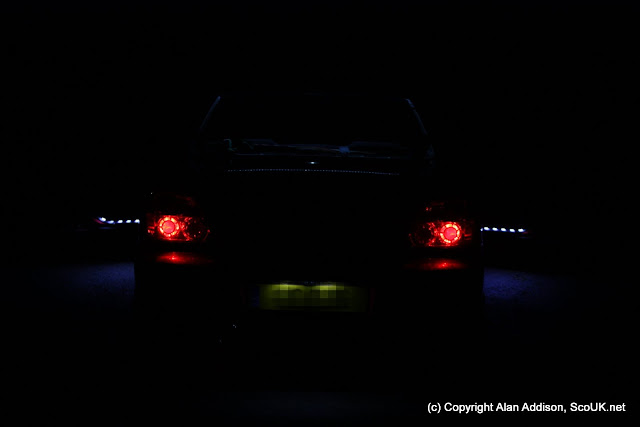
Finally ran a wire up the passenger a-pillar along the roof lining to the top of the rear window for a long white led strip to act as a secondary roof light!

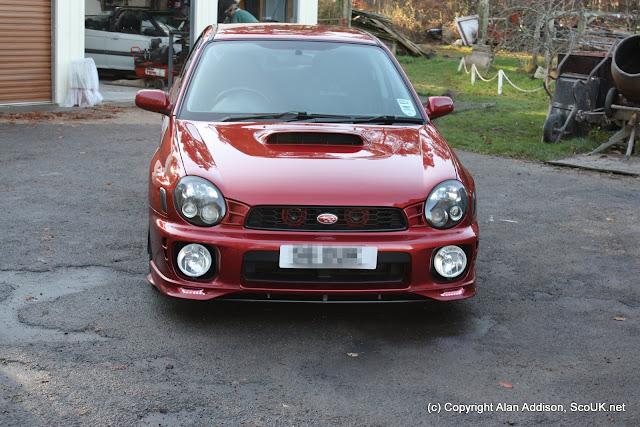
As luck would have it was dark at this point but still just enough time to fit the daytime running lights. Since fitting the Subaru splitter to the front of the car, always thought the exaggerated brake duct vents would be a suitable place for some lights (gawd that sounds like such a ned/chav thing to say but bear with me..) As with the footwell lights I had attempted this plan before but with older style led strips which were quite thick and unreliable really. They featured on the car briefly when I went up to the inverness stop on the Highland Fling this year but was never really happy with the way they mounted and removed them at a later date.
Again with the inspiration of the thin led strips this plan came back into play. I had already tagged off a feed from the sidelights which was already in place so this was simply a case of feeding the wires from the brake ducts up behind the fog/driving lights to the back of the headlight unit and tying it on. Led strips are mounted out of the way, infact they are stuck on the original bumper brake duct but since the splitter covers that you cant see where they are. But when the ignition is on it seems to work really well and far better than the way I had it.
So after 198 LED’s here’s the final result… Enjoy!
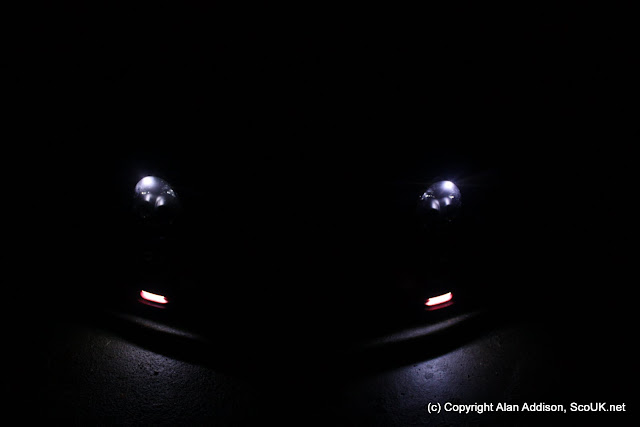


Sidelights in daylight.. The light you see in teh brake ducts is actualyl a reflection of the light strips ![]()
![]()
Leave a Reply